
Adding Members
Add members one at a time in the admin dashboard, or import a spreadsheet if you already have a list.
Overview
Add a member manually when you are setting up, taking a walk-in, or adding a small number of people. Import a spreadsheet when you already have a list: an export from another system, or a file from a migration.
Either way, you get member records only. Adding someone does not subscribe them, send an invite, or charge anything. Those come after the profile exists.
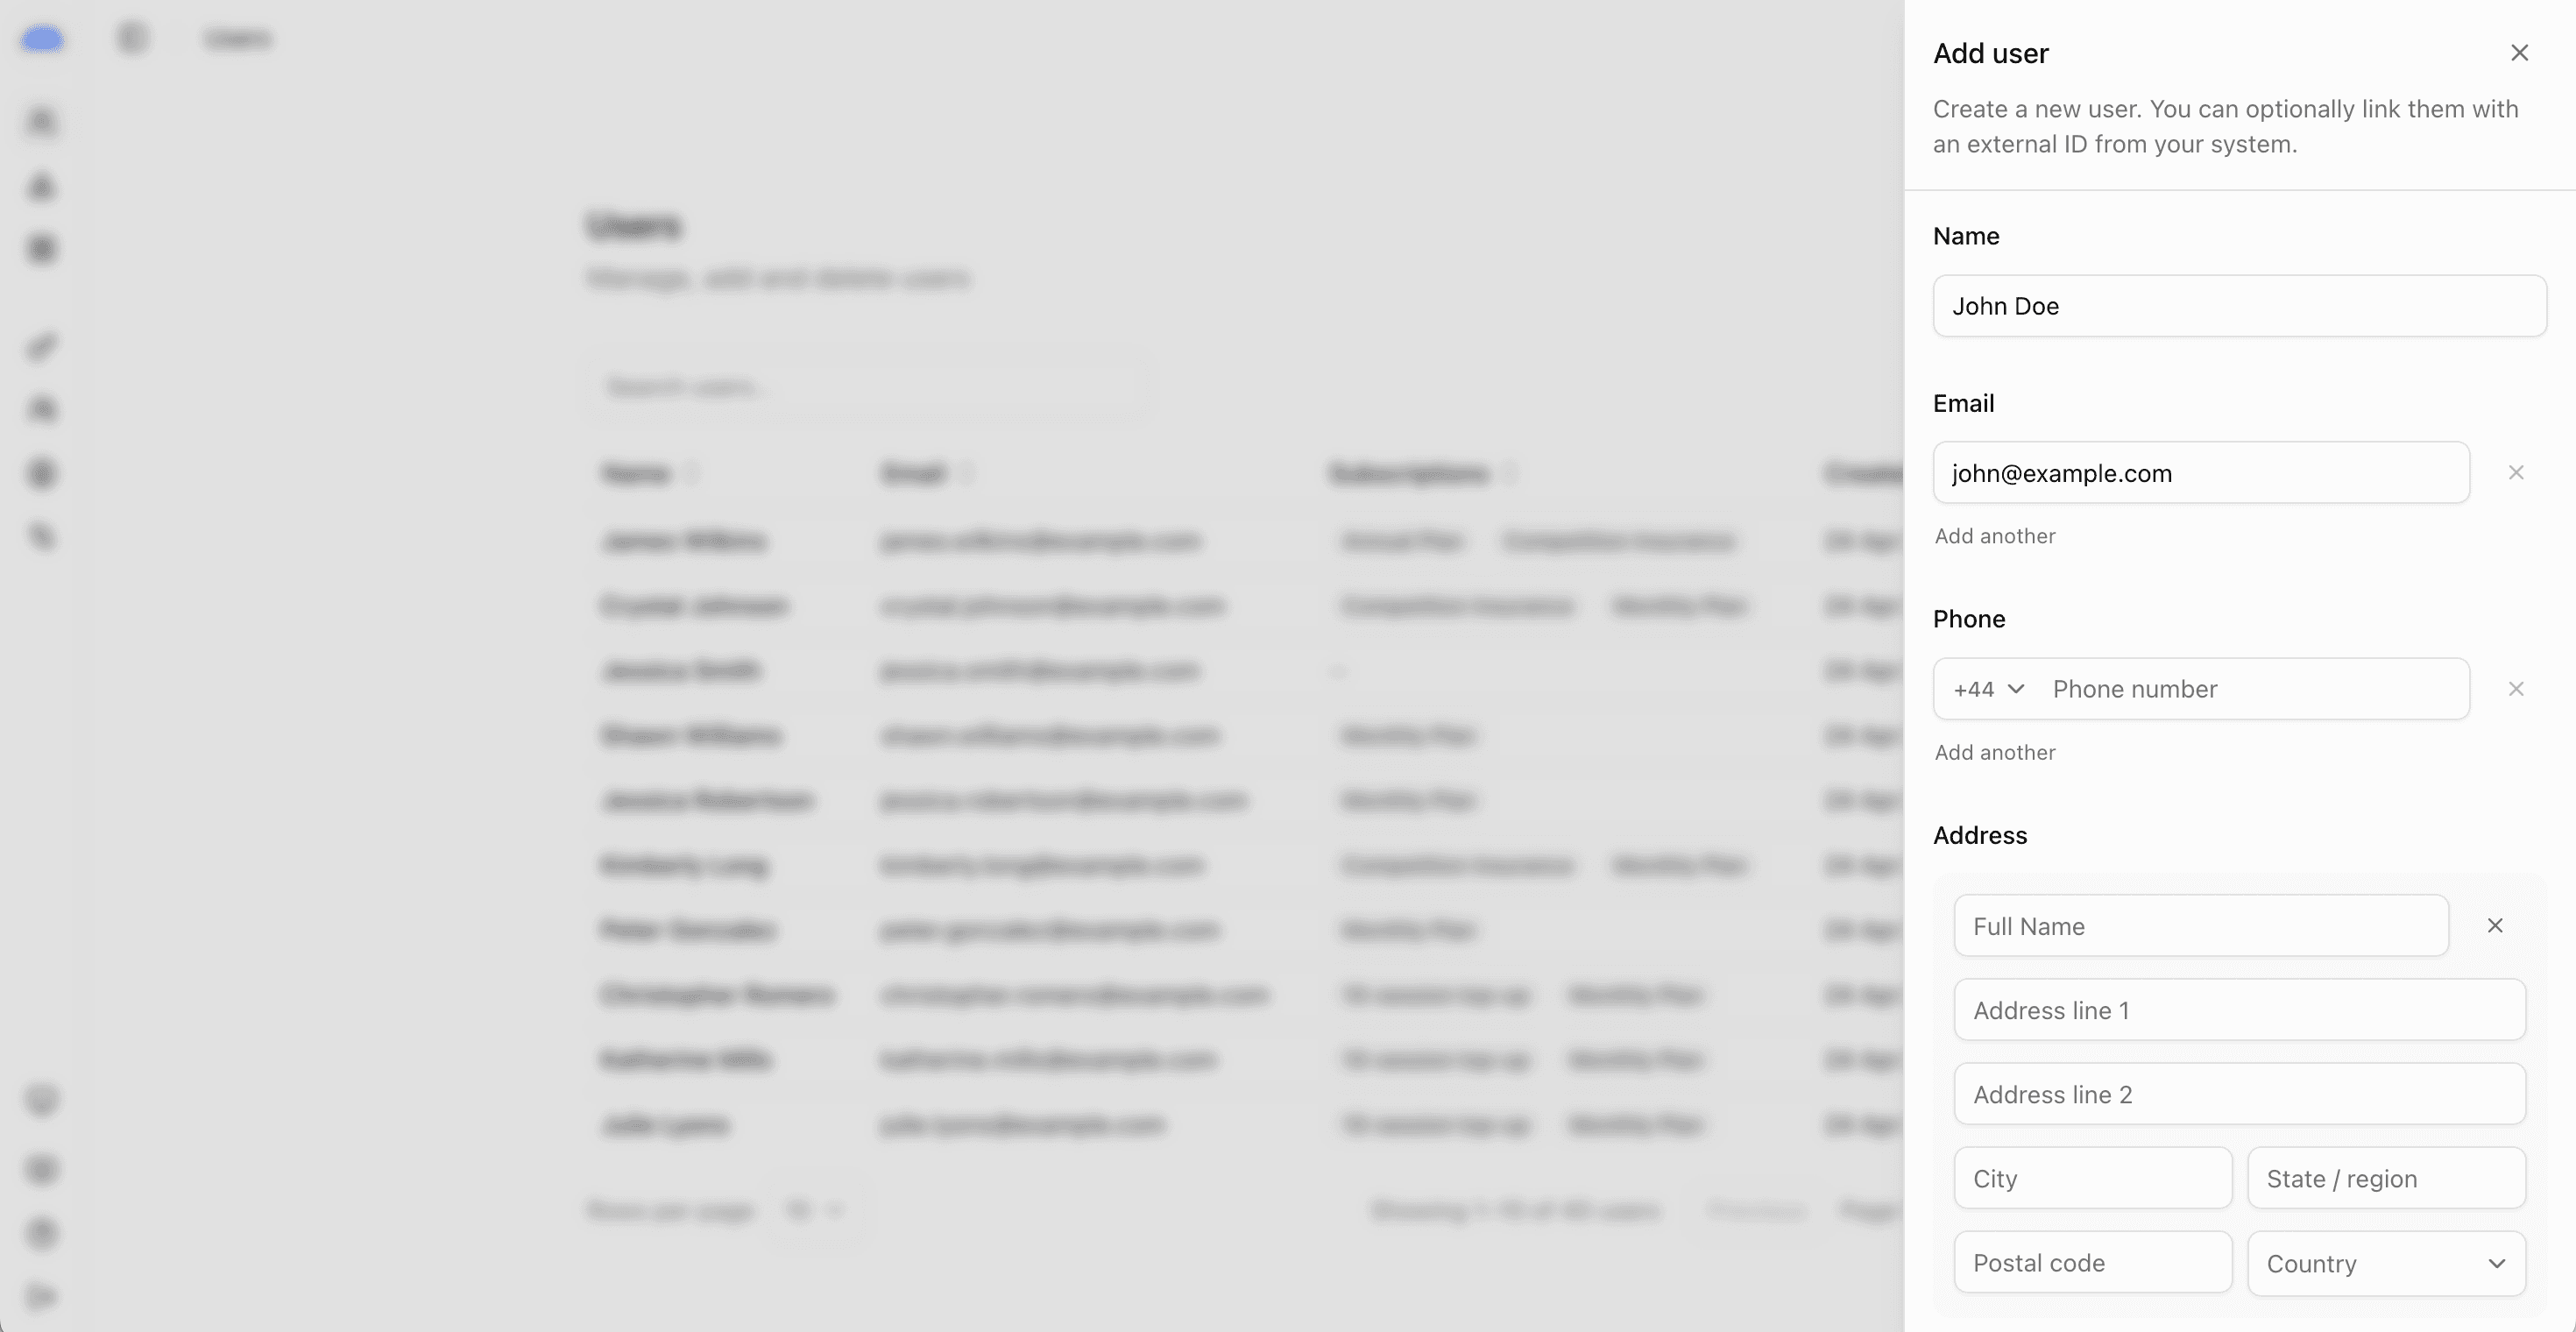
Add a member manually
In the admin dashboard, open Members and add a member. You will see the Members application form based on your configuration. Name is always required. Other fields (both built-in and custom) can be removed, or made optional:
- Phone
- Address
- An external ID, if this profile already exists in another system
- Any custom fields
If a custom field is required, the form asks for a value before the record is created. Admins can override those requirements, for example skipping a required field for the member to complete later. See Customising Member Profile Fields.
A new record is active by default. Use draft when you want the profile ready before the person is invited.
The same create flow is available on the API Create Member endpoint if you are adding people from another system.
Import a spreadsheet
When you need to import a long list of members, use a spreadsheet import in the admin dashboard.
Larger or messier migrations, including a connector to a system you are leaving, are best handled by contacting support.
An import does not create subscriptions, send invites, or move payment history. Map those separately after the people exist.
You can include up to 2000 profiles per import. Imports larger than this should be broken into sub-imports of 2000. The external ID field can be used to de-duplicate imported profiles, but please contact support for large import jobs as we can lift rate limits and reverse the import if something goes wrong.
Prepare the file
Download the import template file from the admin dashboard.
The file contains a column for each currently active member profile field, including custom fields and staff-only fields. Some field types, like addresses, will have multiple columns for different address lines. Other types, like dates and phone numbers require specific formats. The template includes an example row.
Remove the example row before you upload.
Before you import, decide:
- Who is in the file. Usually current members first. Historical or lapsed people can wait if you do not need them on day one.
- How you will avoid duplicates. Email is a common identifier, but often may not be unique (childrens' profiles often use a parent's email). If you already have an ID in another system, put it in the external ID column so integrations can match that person again. Alternatively, copy email (or your unique identifier) into the external ID column and Members will automatically reject duplicates (including in subsequent import batches).
- Whether required custom fields have values. If the custom field is required, rows with a blank cell will not be imported. Often it is best to temporarily make the field optional.
Do not rename the first row of the file. It contains the field IDs, which are crucial for importing later.
Run the import
In the admin dashboard upload dialog, upload the CSV file, then start the import job.
Run at least one dry run when the file is new. A dry run validates every row and produces an error report. Each row lists only the first error, so a later problem on the same row will not appear until that first one is fixed. Run the dry run again after each fix until the report is clean, then uncheck the dry run box and import.
A real import creates the members that pass validation. When it finishes, check:
- Created, the members that were added.
- Invalid, the rows that were skipped. If you followed the dry run advice, this should be zero.
If any rows failed, download the error report. It is a CSV with the first error on each row, so correct those and run again. A failed job has a failure reason at the job level rather than a row report.
Remove successfully created rows before re-attempting an import to avoid duplicates
Spot-check a few profiles after a successful import: name, email, and any custom fields you mapped.
The same flow is available on the API: download the template, upload the CSV, then create an import job. Set dry_run to check the file without saving.
Incomplete profiles
If you do not have data for a full profile, import the records you have, then invite those members to complete the rest themselves. See Invite members in bulk.
After the records exist
Check the profile and confirm the email is correct. From there you can:
- Invite the member so they can sign in and update their own details.
- Create a subscription to attach a product, invoice, and entitlements.